DNS Bridge
If you own a DNS domain, the DNS bridge allows you to claim a Tezos Domain of the same name. At this time, only .xyz domains are supported.
Before you use your DNS domain with Tezos Domains, we have to make sure that you own it. Your ability to log in to your account at your domain registrar and create the DNS record along with DNSSEC proves to Tezos Domains that you own the domain.
The following guide is tailored for users who have their domain at Cloudflare. Even if you are not using Cloudflare, you can follow the guide and enable DNSSEC on your domains add a TXT record from your DNS registrar administration.
How to enable DNSSEC for your domain
-
Login to your Cloudflare account
-
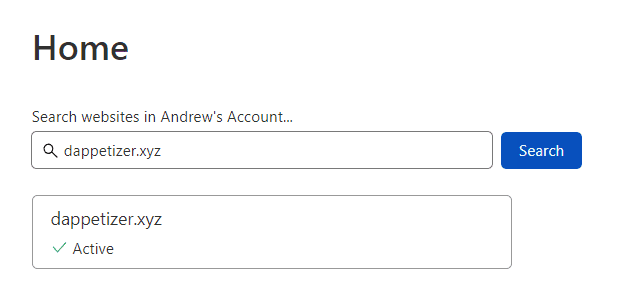
On the Home page, select the domain that you want to update.
-
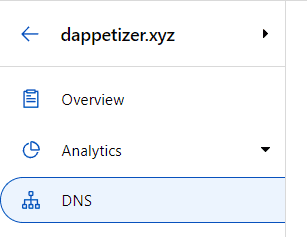
On the Overview page for your domain, select DNS.
-
On the DNS management page, select Enable DNSSEC.
-
To enable DNSSEC you will need to add this DS record to your registrar. Instructions for common registrars can be found here https://developers.cloudflare.com/dns/additional-options/dnssec.
-
When you finish enabling DNSSEC, you can continue with the claim process by adding the TXT record.
How to add a TXT record for verification
Note - This record is used only to verify that you own your domain; it doesn't affect anything else. You can delete it later, if you like.
-
Login to your Cloudflare account
-
On the Home page, select the domain that you want to update.
-
On the Overview page for your domain, select DNS.
-
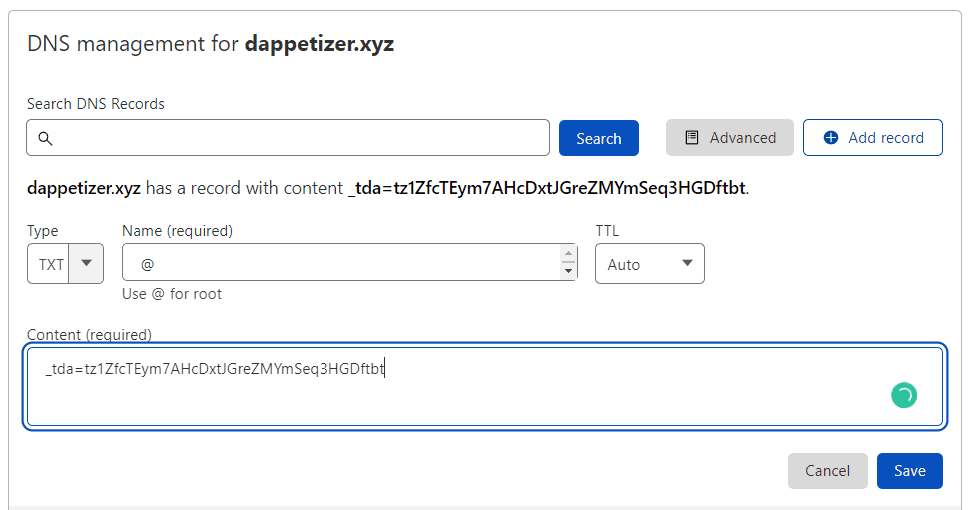
On the DNS management page, select +Add record.
-
Select the TXT type from the drop-down list, and type or copy and paste the values from the Tezos Domains and press the Save button.
-
Now that you've added the record at your domain registrar's site, you can go back to Tezos Domains application and continue with the claim process.


